Filters
How to Tie a Boat to a Dock
Experienced boaters know the importance of learning how to tie a boat to a dock securely and efficiently. Proper tying techniques and practices protect your boat and save you time.
In this guide, we’ll teach you how to tie a boat to a dock the proper way and describe different scenarios you may encounter when tying up your boat. We’ll also provide you with a list of gear you’ll need and some best practices to follow so that you can keep yourself and those on board safe.
Read the entire article or jump to a specific section:
- Gear You’ll Need to Tie Your Boat
- Tying the Boat to the Dock
- Types of Knots to Use
- Considerations to Keep in Mind
- Tips and Best Practices
- Common Questions About Tying a Boat to a Dock
- Add an EZ Dock to Your Waterfront Property
Gear You’ll Need to Tie Your Boat
Before getting started with learning to tie a boat, you need to prepare your gear. All the supplies you need should be available at your local boating store.
Below are the top three supplies you need to tie up your boat:
Boat Cleats
In order to tie your boat to a dock, you need to secure your lines to the boat in some way. Aluminum or nylon cleats are the ideal way to tie up your boat. They’re simple to use, strong and convenient.
Cleats are T-shaped hardware, usually made of galvanized metal, but sometimes made from polymers or wood. If your boat doesn’t already have cleats attached, you can purchase and install them yourself. Since they come in many shapes and sizes, you can select ones that match the aesthetic of your boat.
Be sure to purchase enough for both the port and starboard sides because you need to be able to tie up from either side or from both when docking in a slip. Since properly tying up a boat requires at least three lines, you should have three cleats on either side.
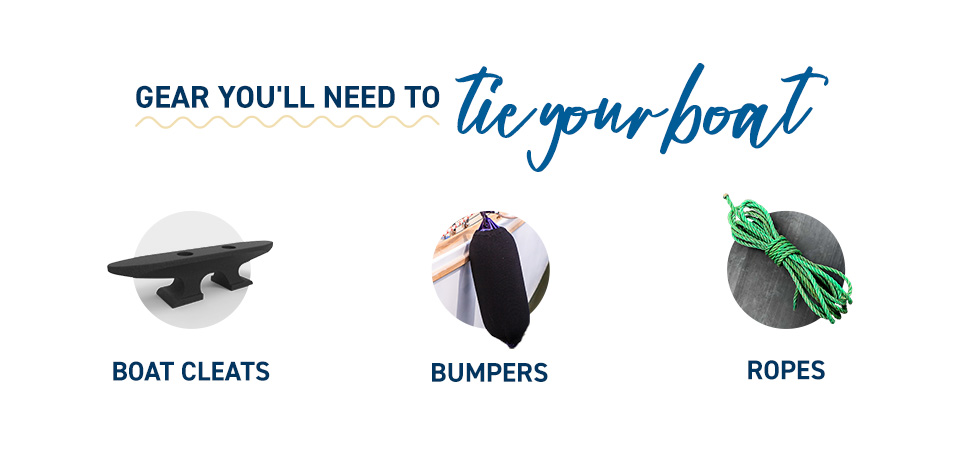
Bumpers
Properly tying up a boat means thinking about protecting your asset from damage. Bumping against the dock can scratch the paint at best and dent the fiberglass at worst. To avoid damage, use bumpers, also called fenders.
Bumpers are protective gear made from foam or rubber or a combination of other materials. They attach to the sides of your boat and act as a buffer between your boat and the dock. You can also position them on the outside of your boat to protect it from other boating traffic or debris.
You can purchase dock bumpers at your local boating store. The number of bumpers you’ll need depends on the size of your boat. For smaller boats, you may need one for the front and a couple for the sides. The bigger the boat, the bigger the bumpers should be.
Ropes
In order to tie your boat, you’ll need sturdy lines of rope. Ensure you have sufficient line available and keep an extra set of ropes on hand in case your primary set gets lost or damaged.
The preferred type of rope for boating is nylon rope. Nylon is a strong yet flexible material, providing sufficient give under the weight of the boat so that it can absorb the energy of the load. Nylon is also a widely available material and is relatively inexpensive. To guarantee strength, look for three-strand or double-braided rope so that it can better resist the elements and abrasion.
It’s imperative to use rope that’s designed for boat tying. Using other styles of nylon rope or rope made from other materials is risky, as they’re not designed to withstand the load of a boat, especially under rough water conditions.

Tying the Boat to the Dock
Learning how to properly tie a boat to a dock is simple once you understand the steps involved. The correct approach to tying a boat to a dock takes into consideration many factors, including foremost the safety of the passengers and the protection of the boat itself.
Experienced boaters can become quite skilled at boat tying, and following the steps below can help you become more proficient, making boating more enjoyable.
Step 1: Prepare Your Boat for Tying
Before docking your boat, run through a mental checklist of everything you need to tie up your boat. Make sure your boat cleats are secured to your boat. You should do this before you get underway. Always carry a screwdriver on board to be able to fasten the cleats to your boat in case any screws loosen over time.
Have your dock lines already tied to your boat’s cleats. Ensure the ropes are organized and not tangled, as untangling ropes while docking can be time-consuming and unsafe. Finally, make sure you drop your bumpers down prior to docking so they’re ready to absorb the impact of docking.
As you approach the dock, be sure to assess the state of the dock itself. Ask yourself whether it looks safe. Ensure the dock’s cleats or pilings are secure and can withstand your boat’s weight.
Step 2: Set Up the Dock Lines
Dock lines refer to the angle at which you’ll tie the ropes to the dock from the boat. Generally, there are three dock lines used to tie up a boat, each with its own configuration that serves a specific purpose.
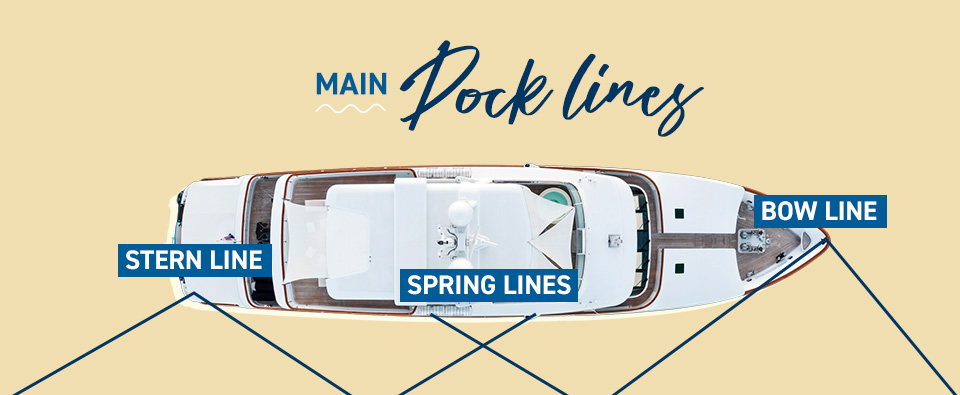
The three main dock lines used when tying one side of the boat to a dock are:
- Bow line: This line comes off either the port or starboard side of the bow cleat.
- Spring line: This is the line that comes off either the port or starboard side of a boat cleat and is positioned somewhere between the bow and the stern.
- Stern line: This line comes off either the port or starboard side of the stern cleat.
Alternatively, if you’re docking your boat in a slip — where a dock is on either side of the boat — you can secure your boat from both sides. In this case, you’ll use at least four dock lines — the port and starboard bow lines and the port and starboard stern lines.
In certain cases, such as the need to tie up quickly in an emergency, you can use a single dock line to tie up. The breast line is a single dock line that comes straight from the midship cleat to the dock’s cleat. This dock line setup should only be done in rare cases or for brief periods, as it’s the least secured dock line option.
Step 3: Tie the Dock Lines
Once you’ve settled on which dock lines to use and you have the ropes set up for tying, toss them to the dock. As you prepare your lines or when you throw your lines to the dock for tying, be very careful not to let the rope fall into the water, as it can get caught in your prop or someone else’s.
When tying your boat to the dock, there’s a specific order of steps to follow to ensure the tension load is evenly distributed across the lines. Below are the steps to follow when tying your boat to the dock:
- Always start by tossing your spring line to someone on the dock. That way, they can adjust the position of the boat and hold it in place while you follow the remaining steps.
- The first line to tie to the dock is the bow line. Tie the bow line of the boat to one of the dock cleats that’s ahead of the bow.
- Tie the spring line to the dock at an angle away from the bow and toward the stern, securing it to a cleat closest to the stern. This prevents the boat from moving forward and backward.
- Tie the stern line to a dock cleat that’s behind the stern — preferably as equidistant from the midship as the cleat to which the bow line is tied.
Every line should be tied at a non-right angle as opposed to a 90-degree angle from the boat to the dock. Having every line angled allows for the boat to move with the waves, which is always safer than having your boat fight against a wake while it’s docked.
Types of Knots to Use
Knowing how to properly tie a knot is essential to the safety and security of your boat and efficiency and emergency preparedness. Boat tying knots are designed for strength and speed, allowing you to quickly tie and untie your knot without snags. Being out on the water means being prepared for anything, and having a knot you can undo in a pinch is essential.
Below are the three types of boat tying knots that all boaters should practice and be prepared to do under certain scenarios.
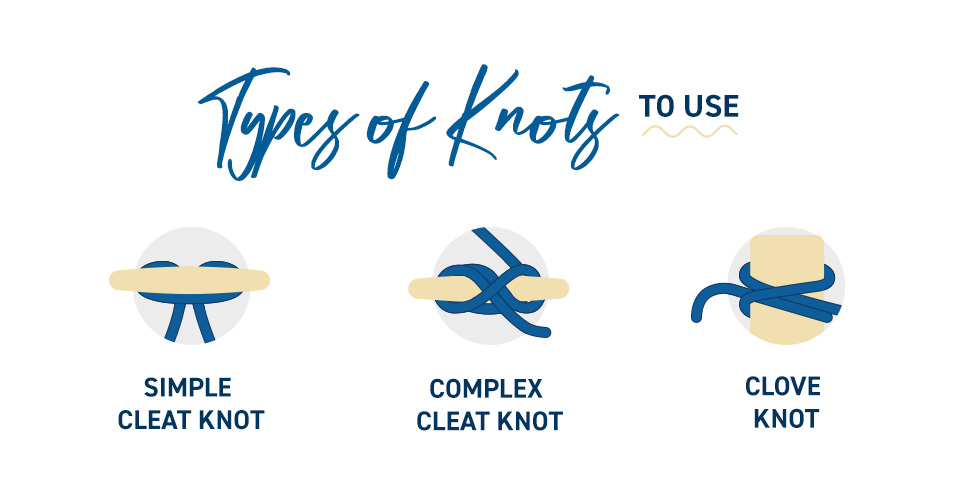
Simple Cleat Knot
The simple cleat knot is named as such because it’s the cleanest knot and easiest to learn. Follow these steps for the simple cleat knot:
- Start by making a loop with your rope and feed the loop through the cleat — the space between the cleat and the dock and in between the cleat’s screws.
- Grab the loop from the other side of the cleat and spread the loop so that it wraps around the cleat’s horns.
- Tug on the rope’s tails to tighten the loop to the cleat.
Normally, this type of knot is used only when securing the boat temporarily or when the person on the dock is unfamiliar with how to tie a more complex rope. It prevents the rope from falling into the water, secures the boat to the slip and saves you time as you continue to properly dock position the boat in the dock.
Complex Cleat Knot
The next level above the simple cleat knot is the complex cleat knot. This is the preferred knot for longer-term stays and added safety and security.
Follow the below steps for a complex cleat knot:
- Start by looping the rope around one side of the cleat from the bottom.
- Cross the rope over the top of the cleat to the opposite side.
- Loop the rope over the first side of the cleat a second time.
- Cross the rope over the other side of the cleat a final time, tucking the tail between the top two layers of rope.
The final result should be one-and-a-half figure eights wrapped around the cleat. Make sure that at each step you’re pulling the rope tightly, as it’s merely the tension and the wrapping fastening the rope — you’re not actually tying a traditional knot to anything.
If you decide to use a complex cleat knot, make sure you use it for every dock line.
Clove Knot
Sometimes, you’ll find that you stop at a dock that has pilings instead of cleats. In this case, you can’t use a cleat knot because there are no horns you can use to form figure eights. Instead, you’ll need to use a knot called a clove knot.
Follow these steps to make a clove knot on a piling:
- Wrap the line around the pole.
- Wrap the line around the pole a second time, crossing the rope over itself once.
- Feed the tail end through the wrapped line, tugging it tightly.
Follow the same pattern for each of the dock lines to ensure the boat is tied securely.
Considerations to Keep in Mind
Every boating scenario is different, so it’s important to keep in mind that not all guidance is one-size-fits-all. You need to be aware of your particular boating conditions, including weather, tides, length of stay and more.
Below are some of the top considerations to keep in mind when tying your boat to a dock:
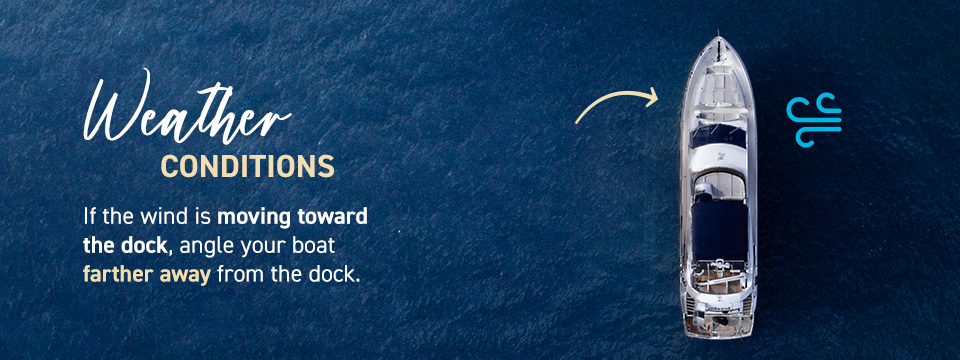
Weather Conditions
Weather is always the biggest concern for boaters. Inclement conditions can impact your entire boating experience, particularly if the weather changes suddenly. For boating, wind is always the main element of concern.
A sudden pickup in wind speeds can alter the water’s surface, creating rough conditions for maneuvering and steadying a boat as you dock and tie up. Check the direction of the wind and tie up accordingly. If the wind is moving toward the dock, angle your boat farther away from the dock. If the wind is moving away from the dock, tie up your boat more parallel to the dock.
Since wind directions can change, checking on your boat regularly can help you adjust to the current weather conditions.
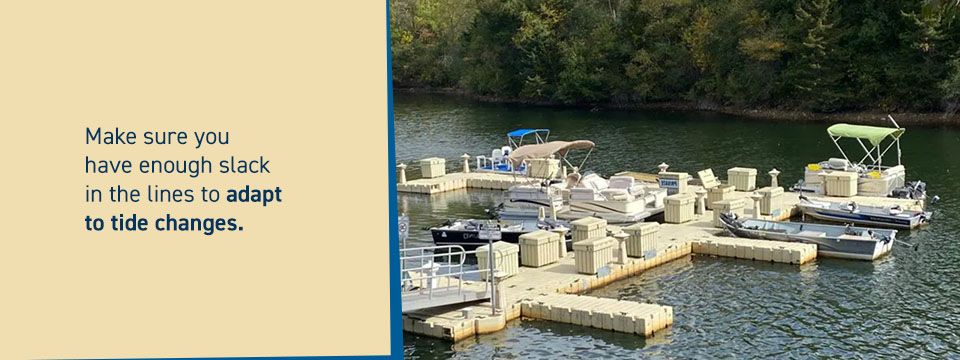
Water Levels
Be aware of changing tides and always refer to a tide chart to know how water levels will rise or recede while you’re tied up. Make sure you have enough slack in the lines to adapt to tide changes.
Tide schedules can affect where you decide to dock, including choosing dock spaces or slips that are farther away from the shoreline, particularly for larger boats. If you’re unaffected by tides, consider that basic wakes and waves from nearby boating activity will alter your boat’s positioning.
Length of Stay
One of the primary considerations for how to tie your boat to a dock properly has to do with how long you expect your boat to be tied up. For shorter stays, you tie up for the current conditions. For longer stays, you may need to add an extra spring line or breast line to increase security.
If you’re docking on a lake, there’s a lower risk of fluctuating water levels compared to ocean boating. Therefore, there’s less concern over having enough spring in your lines regardless of how long your boat is tied up.
Tips and Best Practices
Though there are certain non-negotiables when it comes to tying up a boat, such as having the right gear, there are some best practices that seasoned boaters learn over time that can make boating easier and safer.
Below are some tips all boaters can follow to become better at tying their boats up:
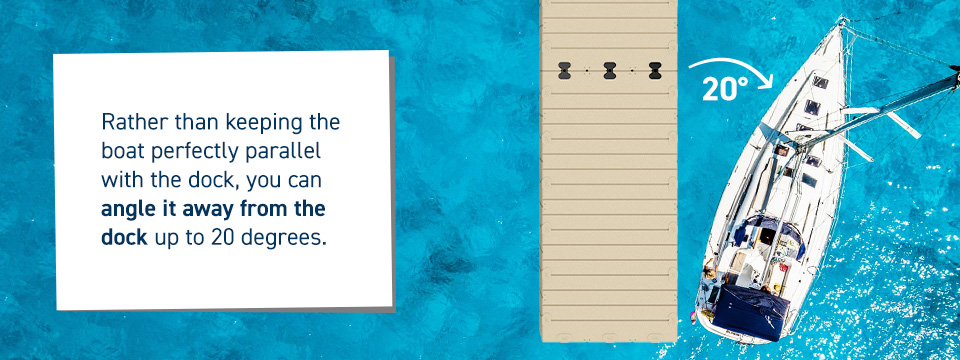
1. Consider Tying the Boat at an Angle
Beyond knowing how to properly set up dock lines, another best practice for tying a boat to a dock is to tie the boat itself at an angle to the dock. Rather than keeping the boat perfectly parallel with the dock, you can angle it away from the dock up to 20 degrees.
Slightly angling the bow away from the dock allows for more movement through the water as wakes and waves come by. Having more space between the bow and the dock provides enough space for the boat to avoid seriously hitting the dock during sudden movement.
2. Inspect Lines Regularly
Before getting underway, you should always have a checklist you run through to make sure your trip is as safe and enjoyable as possible. One key item on your boating checklist should be to routinely inspect your gear, including your rope.
Look for severe fraying, abrasions, cuts or any other type of damage. A set of rope that’s been exposed to the elements can become discolored and weaken over time. It’s better to replace your rope regularly than risk a line snapping while you’re tied up and away from the boat.
3. Go Slowly, But Act Swiftly
While docking and tying up a boat may seem like the least dangerous part of the journey, it isn’t without its risks. Improper boat tying practices can lead to people falling overboard or items being lost between the boat and the dock. Always wear your personal flotation device (PFD) while the boat is still being tied and whenever you’re exiting the boat.
Take your time setting up the dock lines and ensuring everything is properly tied. Still, in case of emergency, don’t hesitate to act. Whether you’re a one-person crew or have the whole family aboard, keep in mind there can only be one captain giving clear directions and making decisions.
Common Questions About Tying a Boat to a Dock
Below are some commonly asked questions about how to tie a boat to a dock to help you become a better boater and feel confident in boating safety.
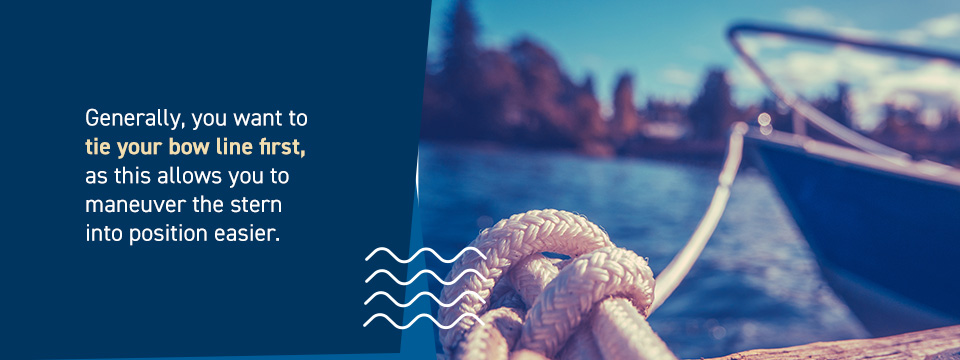
Which Dock Line Should You Tie First?
Generally, you want to tie your bow line first, as this allows you to maneuver the stern into position easier. However, it depends on the water and weather conditions. When high winds are blowing toward the dock, it may be better to tie the stern off first to prevent it from being pushed under the dock.
Is It Safe for Another Boat to Tie to Your Boat?
Rafting is when one or more boats are tied to a boat that’s tied to a dock. Generally, this is only recommended in flat, calm conditions. The more boats rafted to one another, the bigger the risk for damage under tidal changes or harsh wakes.
How Many Dock Lines Do You Need?
As a general rule, the more dock lines, the more security. If you’re planning to be tied up overnight or longer, you’ll want at least three dock lines. For quick stays, two lines can suffice. Learning your boat’s dock line needs is part of becoming a better boater.
Add an EZ Dock to Your Waterfront Property
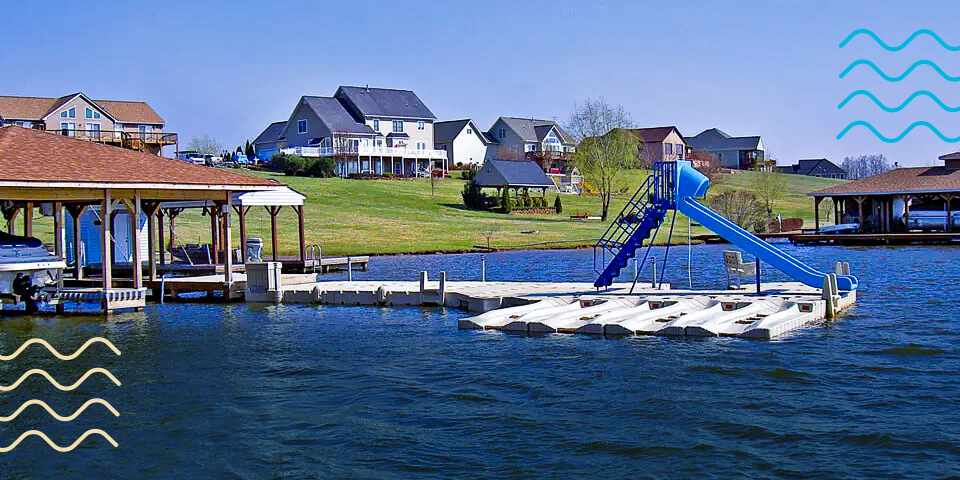
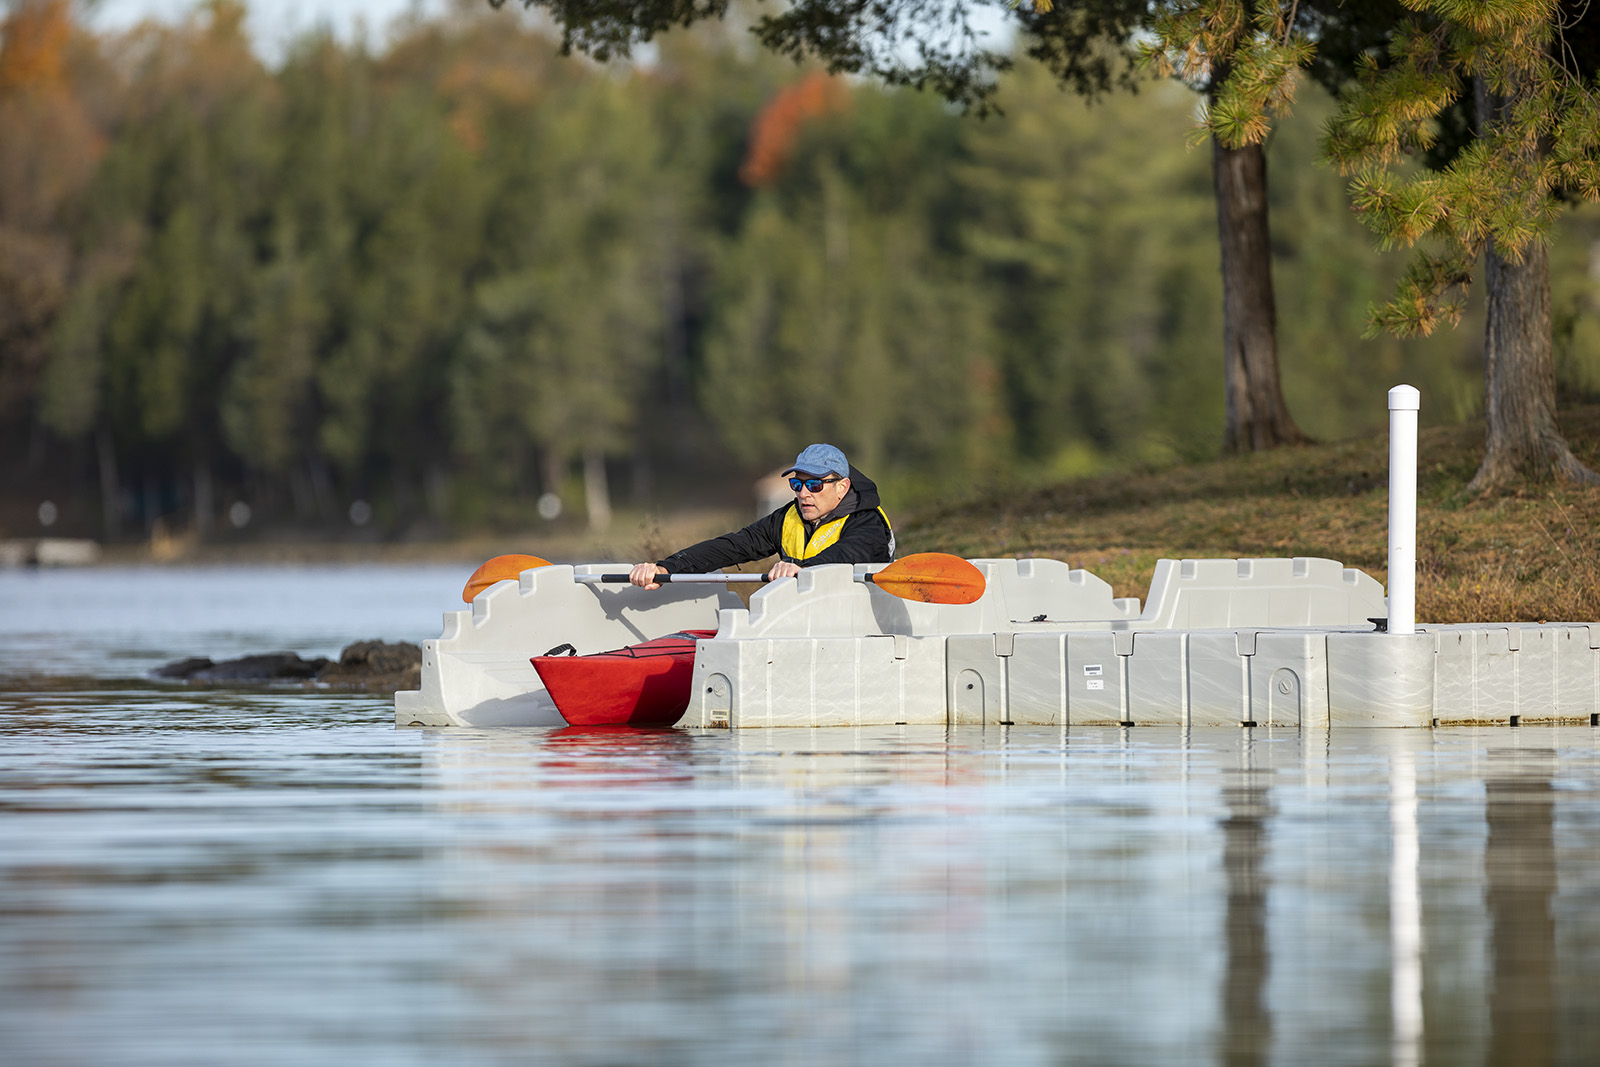
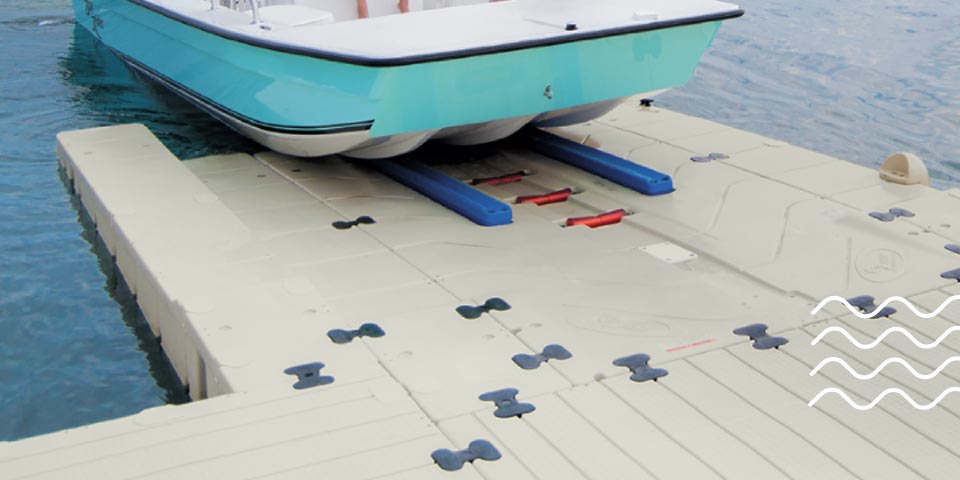
Make docking and tying up your boat easy with the floating dock by EZ Dock. Floating docks allow for free movement with the waves, which keeps your boat safe and secure and prevents damage, minimizing the risks associated with docking or tying up a boat at a stationary dock.
At EZ Dock, you’ll find dock sections and dock configurations that work for your boat and your property. Our docks are built from a durable, plastic material that’s designed to withstand tough conditions and long-term exposure to the elements.
Get started with EZ Dock today. Contact us online or request a quote to invest in your own floating dock!